> ## Documentation Index
> Fetch the complete documentation index at: https://docs.webapp.io/llms.txt
> Use this file to discover all available pages before exploring further.
# Routing
## Deployments
[EXPOSE WEBSITE](/docs/layerfile-reference/expose-website) allows you to
whitelabel staging servers on your own domain.
For example, `example.com` could route `$branch.demo.example.com` to the latest
commit on the branch `$branch` by adding a single DNS record
`CNAME *.demo demotarget.webapp.io`
**How to set up deployments:**
Using [webapp.io/dashboard](/dashboard), navigate to your customs domains.
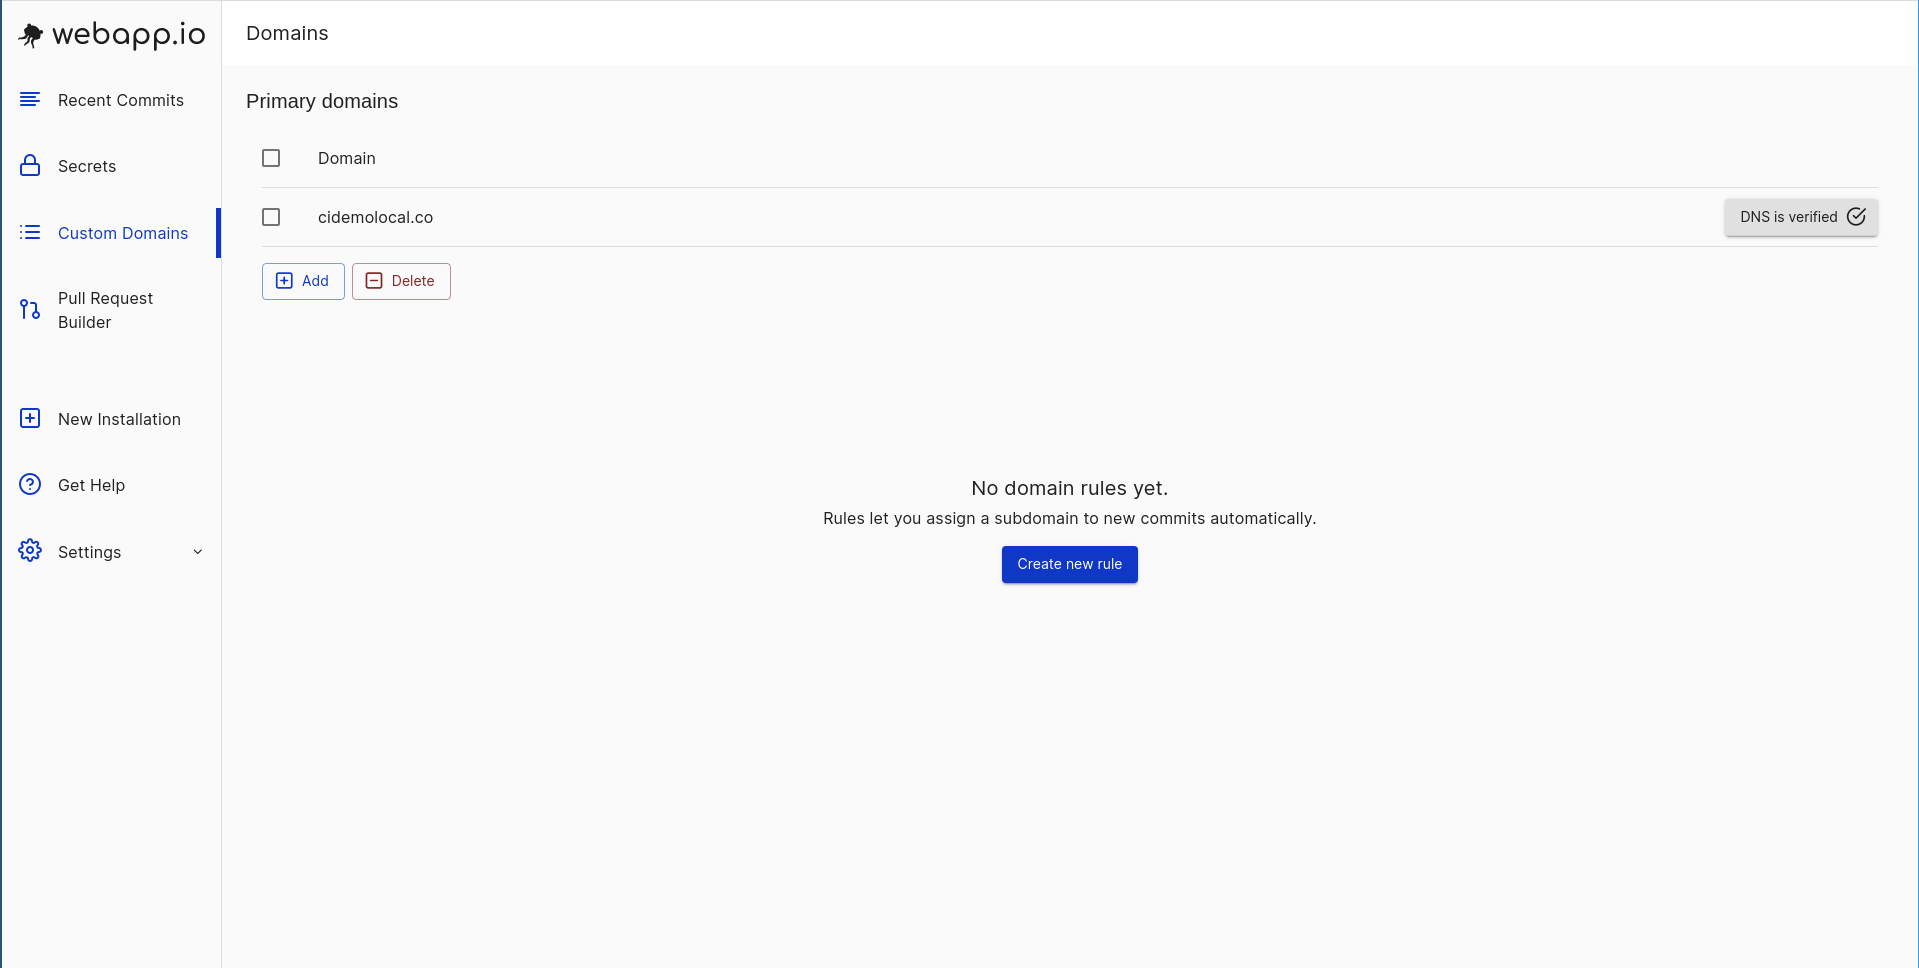 Add the specific domain that you want everything to be exposed under. In the
example below, we are adding cidemolocal.co. A CNAME record will be provided.
Add the specific domain that you want everything to be exposed under. In the
example below, we are adding cidemolocal.co. A CNAME record will be provided.
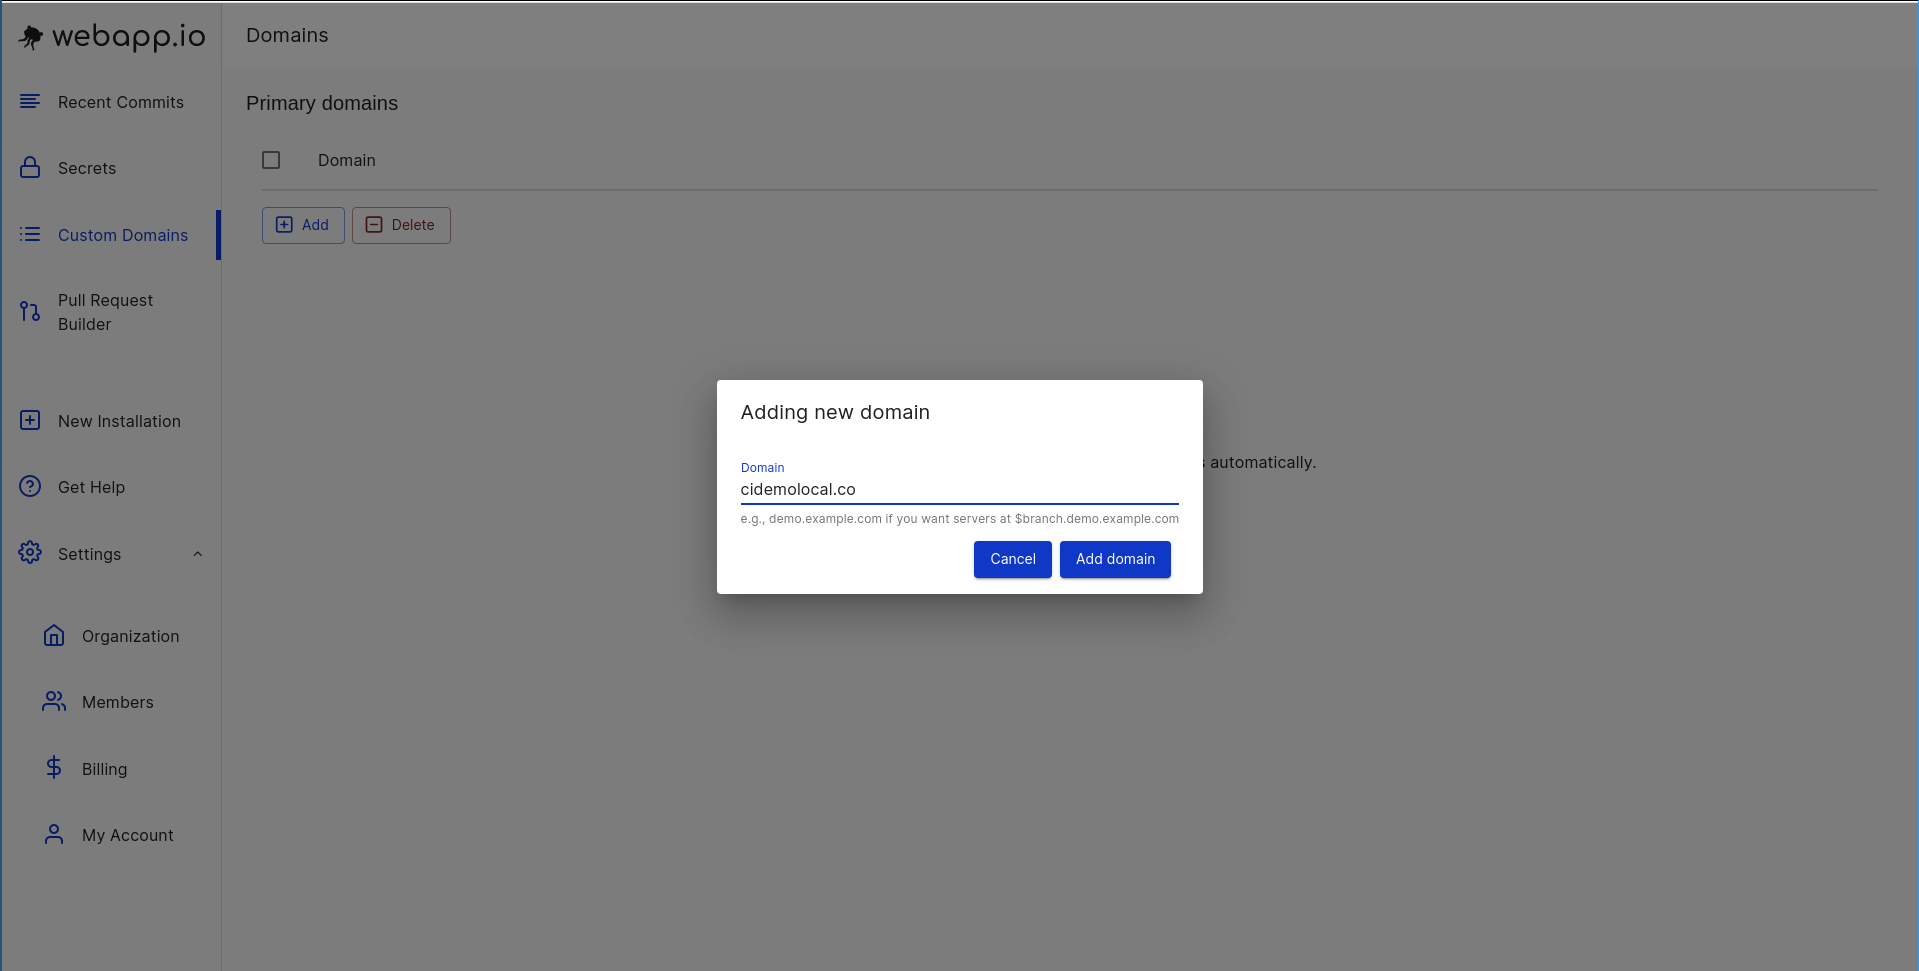 Add the CNAME record in your DNS hosting provider (ex: Cloudflare, godaddy,
etc). Creating a new record can usually be done within the DNS settings. Once
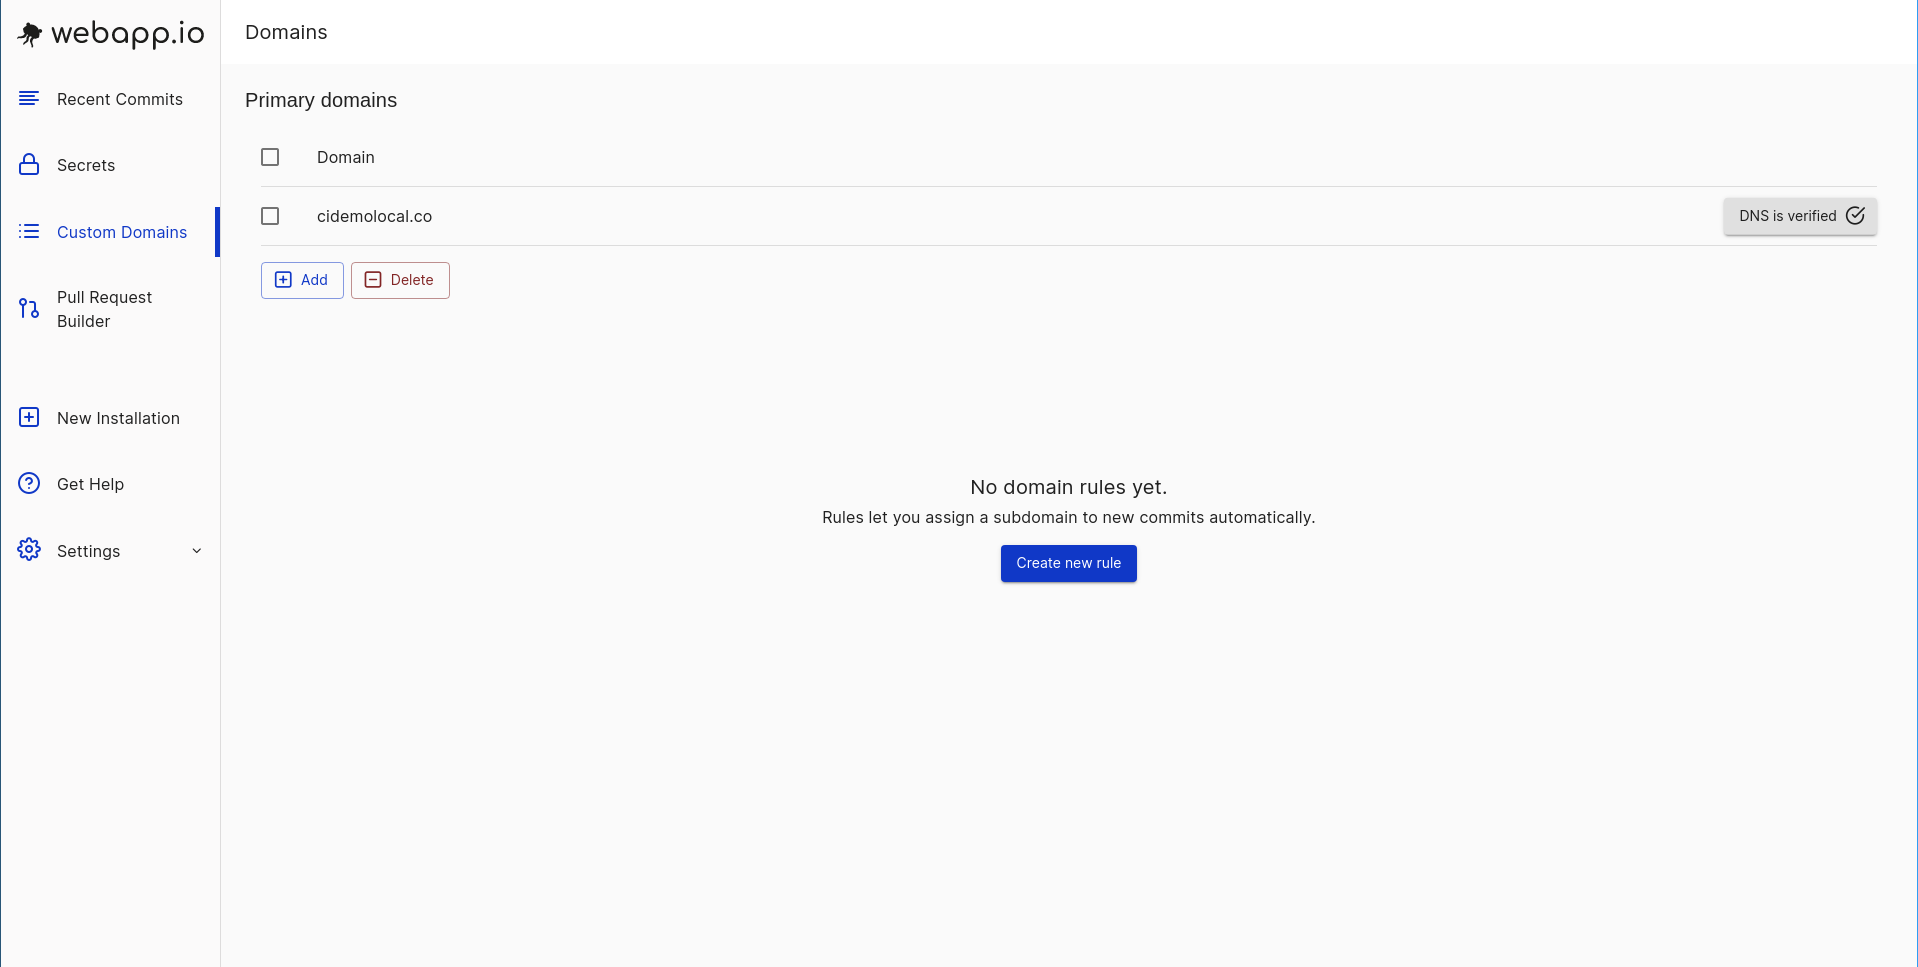
this is done, DNS IS SET UP can be found next to the new domain.
Add the CNAME record in your DNS hosting provider (ex: Cloudflare, godaddy,
etc). Creating a new record can usually be done within the DNS settings. Once
this is done, DNS IS SET UP can be found next to the new domain.
 Next, click ‘Add’ to create a new deployment rule. Fill in the appropriate
fields.
Next, click ‘Add’ to create a new deployment rule. Fill in the appropriate
fields.
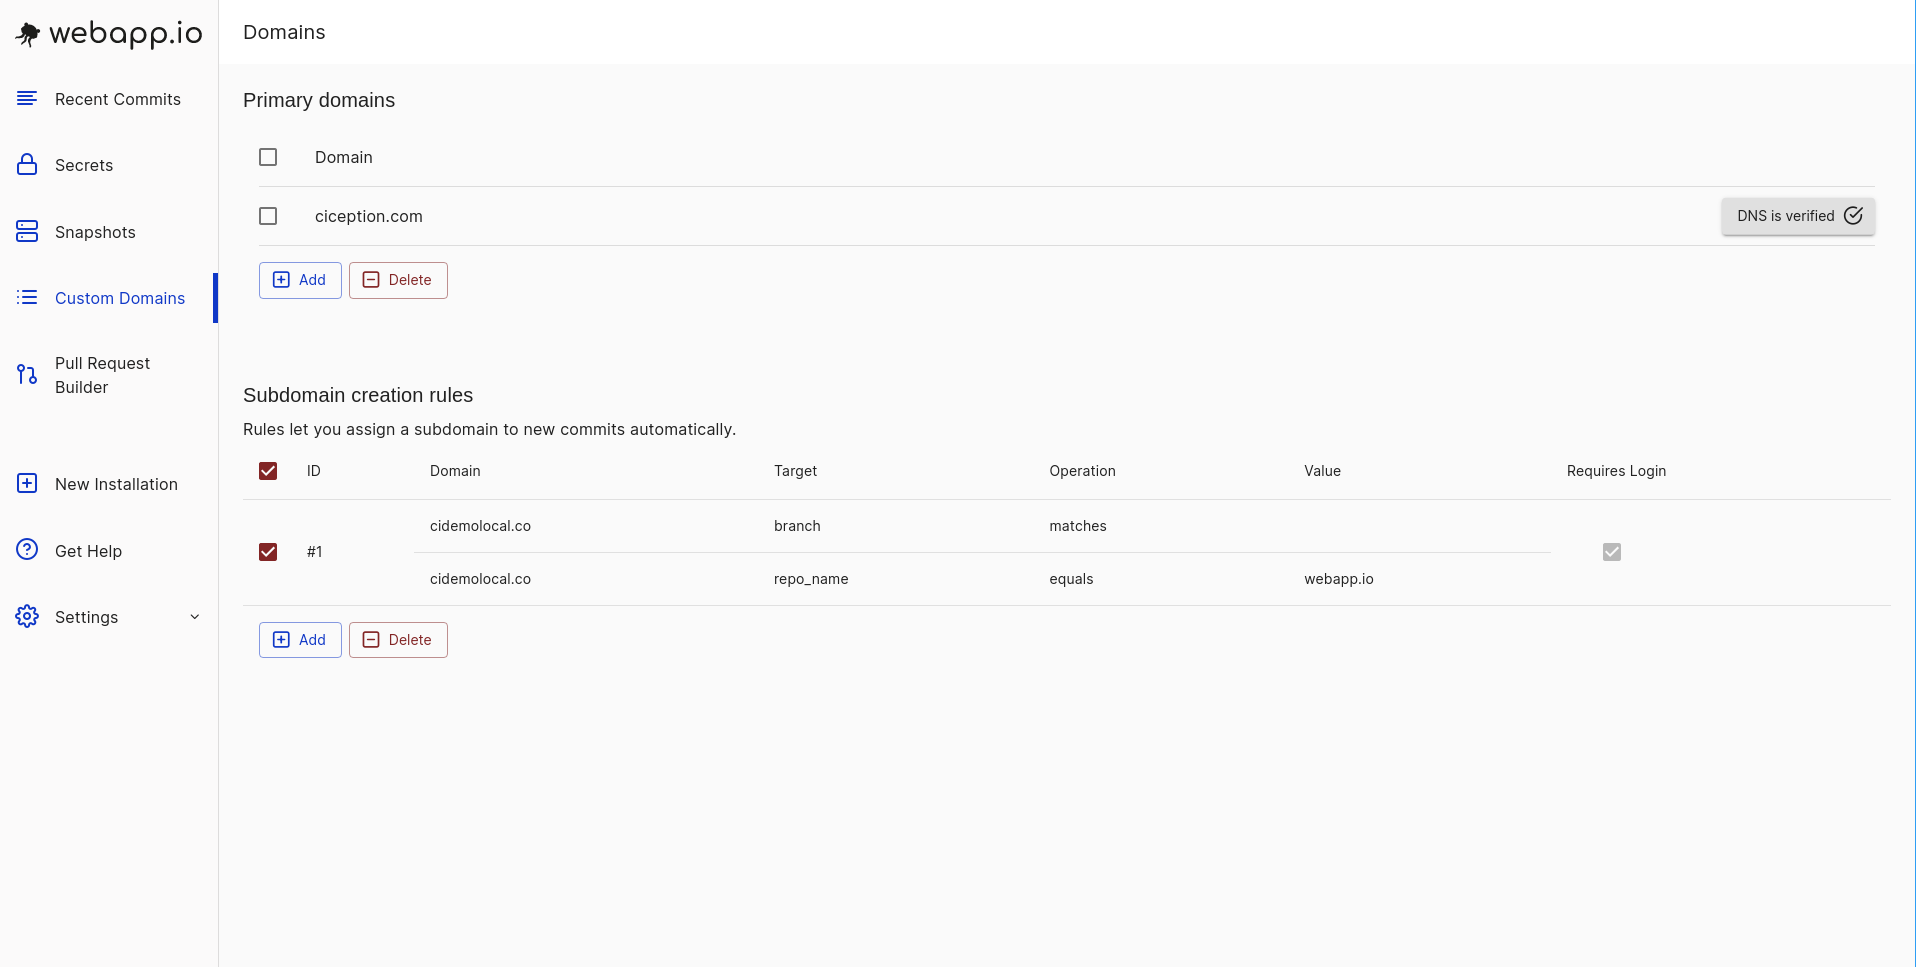
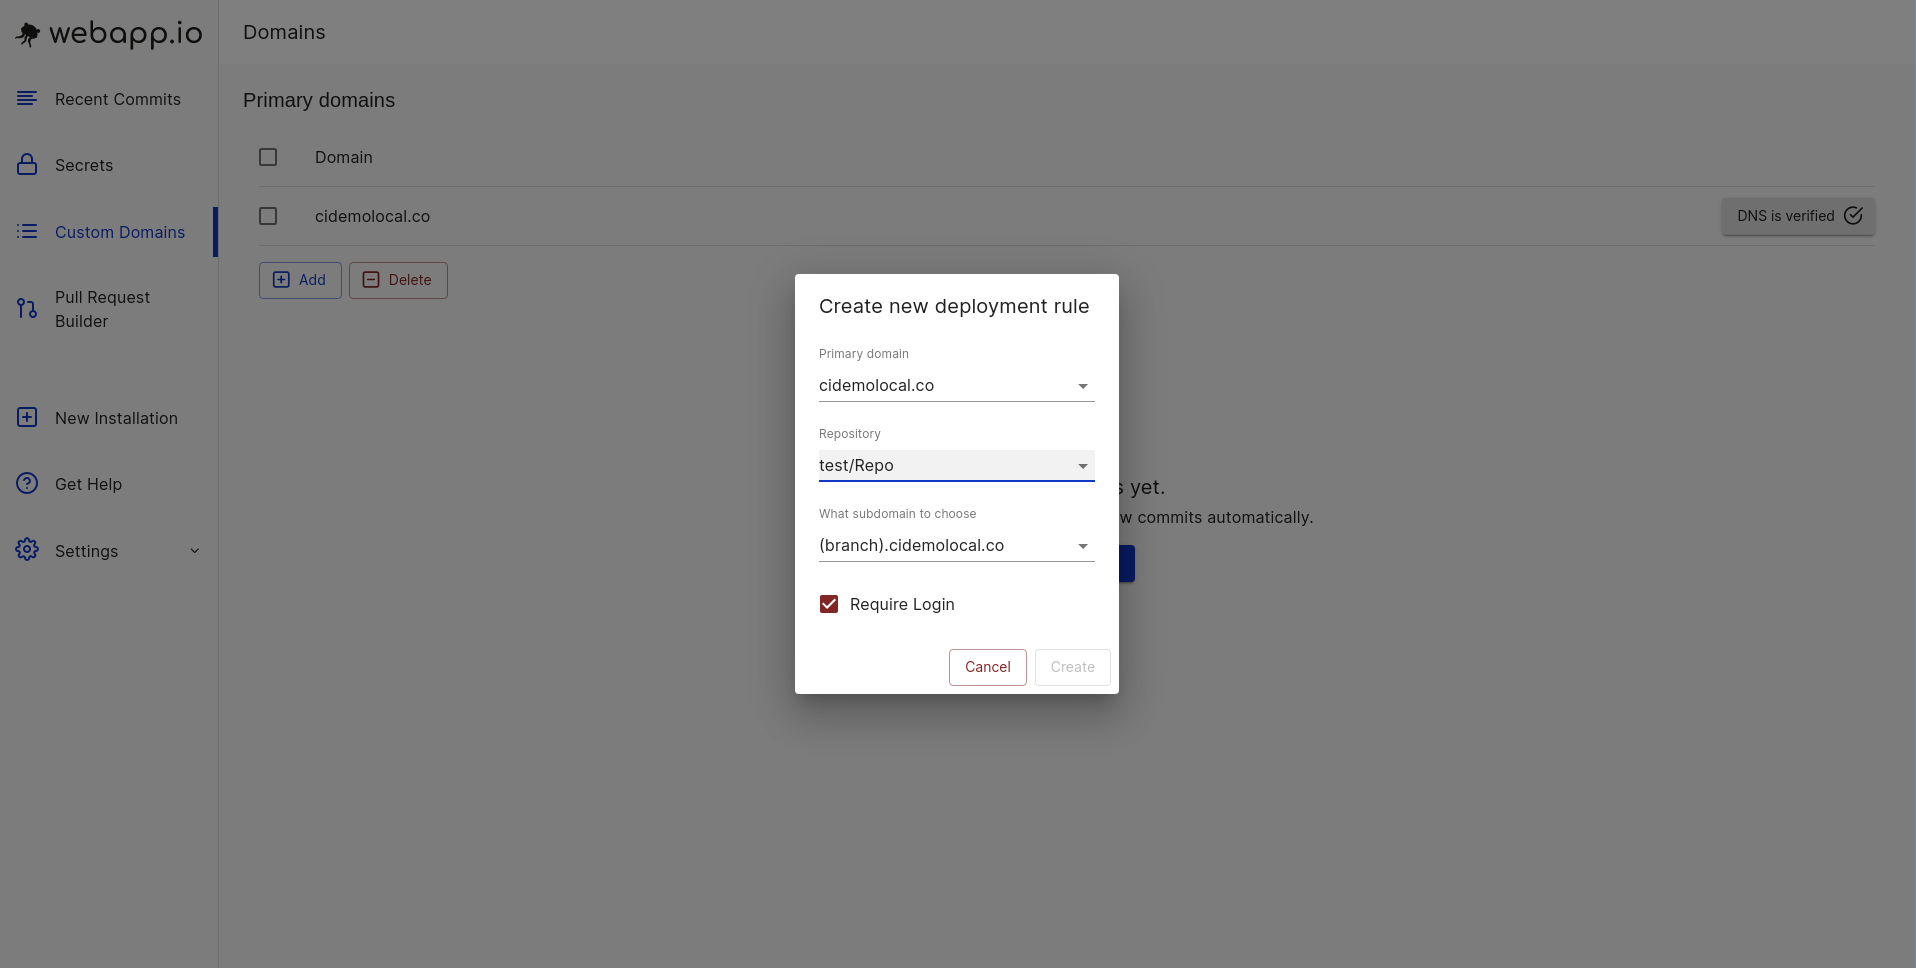 The deployment is now listed under ‘Subdomain creation rules’
 ### Use-cases for deployments
* Host your staging servers on your own domain to make them easier to find.
`staging.demo.example.com` could be bookmarked by a QA person to see the
latest commit on the `staging` branch.
* Run your backend and frontend in different Layerfiles and combine them behind
one host (`main.demo.example.com` and `main.demo.example.com/api`
respectively)
* Allow multiple subdomains to the same Layerfile in case your application does
host based routing (e.g., `dashboard.main.demo.example.com`)
* Private Deployments which prevents people from outside your organizations from
viewing your site
By default, [EXPOSE WEBSITE](/docs/layerfile-reference/expose-website) creates
staging servers are at `https://(uuid).cidemo.co`, where the uuid is unique for
every Layerfile. The deployments page lets you customize this by adding a column
to its table and adding a `CNAME` record on a domain you control.
### Subdomains within deployments
Subdomains are preconfigured in webapp.io. Your webserver always sees the host
as localhost. If you don’t want that to be the case, please contact support.
For example, say you have a deployment at deployment.demo.webapp.io. If you then
go to hello.deployment.demo.webapp.io, it will go to the same deployment.
Similarly, if you navigate to greetings.deployment.demo.webapp.io, it will also
direct to deployment.demo.webapp.io. This happens by default.
### Two layerfile polyrepo example
* In this example, the backend and frontend are separate repositories, and we
want to use the latest version of the frontend whenever the backend is built.
##### (backend repo)/layerfiles/backend/Layerfile
```docker Layerfile theme={null}
# backend
FROM vm/ubuntu:18.04
# install the latest version of Docker, as in the official Docker installation tutorial.
RUN apt-get update && \
apt-get install ca-certificates curl gnupg lsb-release && \
sudo mkdir -p /etc/apt/keyrings && \
curl -fsSL https://download.docker.com/linux/ubuntu/gpg | sudo gpg --dearmor -o /etc/apt/keyrings/docker.gpg && \
echo \
"deb [arch=$(dpkg --print-architecture) signed-by=/etc/apt/keyrings/docker.gpg] https://download.docker.com/linux/ubuntu $(lsb_release -cs) stable" |\
sudo tee /etc/apt/sources.list.d/docker.list > /dev/null && \
apt-get update && \
apt-get install docker-ce docker-ce-cli containerd.io
COPY / .
RUN REPEATABLE docker build -t backend && docker run -d -p 80:80 backend
EXPOSE WEBSITE localhost:80 /api
```
##### (backend repo)/layerfiles/frontend/Layerfile
```docker Layerfile # backend FROM vm/ubuntu:18.04 theme={null}
# install the latest version of Docker, as in the official Docker installation tutorial.
RUN apt-get update && \
apt-get install ca-certificates curl gnupg lsb-release && \
sudo mkdir -p /etc/apt/keyrings && \
curl -fsSL https://download.docker.com/linux/ubuntu/gpg | sudo gpg --dearmor -o /etc/apt/keyrings/docker.gpg && \
echo \
"deb [arch=$(dpkg --print-architecture) signed-by=/etc/apt/keyrings/docker.gpg] https://download.docker.com/linux/ubuntu $(lsb_release -cs) stable" |\
sudo tee /etc/apt/sources.list.d/docker.list > /dev/null && \
apt-get update && \
apt-get install docker-ce docker-ce-cli containerd.io
RUN curl -Lo /usr/local/bin/fast-git-download
https://gist.githubusercontent.com/ColinChartier/6bff7cf77adf7d2a8d7d699a5deed707/raw/0b89b3037548ce7e4fb24bea96628014da1bbf05/download
&& \
chmod 755 /usr/local/bin/fast-git-download
# download the latest version of the frontend's "master" branch and build and start it.
RUN REPEATABLE fast-git-download frontend-repo-name /frontend origin/master && \
cd /frontend && \
docker build -t frontend && docker run -d -p 80:80 frontend
EXPOSE WEBSITE localhost:80
```
##### Deployments
1. Create a single deployment from \$branch.demo.yourdomain.com to the backend
repository, leave the branch field empty
2. Create a CNAME record from \*.demo to demotarget.webapp.io
3. Push the layerfiles above to a branch, say, "main"
4. Visit main.demo.yourdomain.com - notice that requests to
main.demo.yourdomain.com/api/hello go to the backend layerfile, while
requests to main.demo.yourdomain.com go to the frontend layerfile (within the
backend domain)
### Use-cases for deployments
* Host your staging servers on your own domain to make them easier to find.
`staging.demo.example.com` could be bookmarked by a QA person to see the
latest commit on the `staging` branch.
* Run your backend and frontend in different Layerfiles and combine them behind
one host (`main.demo.example.com` and `main.demo.example.com/api`
respectively)
* Allow multiple subdomains to the same Layerfile in case your application does
host based routing (e.g., `dashboard.main.demo.example.com`)
* Private Deployments which prevents people from outside your organizations from
viewing your site
By default, [EXPOSE WEBSITE](/docs/layerfile-reference/expose-website) creates
staging servers are at `https://(uuid).cidemo.co`, where the uuid is unique for
every Layerfile. The deployments page lets you customize this by adding a column
to its table and adding a `CNAME` record on a domain you control.
### Subdomains within deployments
Subdomains are preconfigured in webapp.io. Your webserver always sees the host
as localhost. If you don’t want that to be the case, please contact support.
For example, say you have a deployment at deployment.demo.webapp.io. If you then
go to hello.deployment.demo.webapp.io, it will go to the same deployment.
Similarly, if you navigate to greetings.deployment.demo.webapp.io, it will also
direct to deployment.demo.webapp.io. This happens by default.
### Two layerfile polyrepo example
* In this example, the backend and frontend are separate repositories, and we
want to use the latest version of the frontend whenever the backend is built.
##### (backend repo)/layerfiles/backend/Layerfile
```docker Layerfile theme={null}
# backend
FROM vm/ubuntu:18.04
# install the latest version of Docker, as in the official Docker installation tutorial.
RUN apt-get update && \
apt-get install ca-certificates curl gnupg lsb-release && \
sudo mkdir -p /etc/apt/keyrings && \
curl -fsSL https://download.docker.com/linux/ubuntu/gpg | sudo gpg --dearmor -o /etc/apt/keyrings/docker.gpg && \
echo \
"deb [arch=$(dpkg --print-architecture) signed-by=/etc/apt/keyrings/docker.gpg] https://download.docker.com/linux/ubuntu $(lsb_release -cs) stable" |\
sudo tee /etc/apt/sources.list.d/docker.list > /dev/null && \
apt-get update && \
apt-get install docker-ce docker-ce-cli containerd.io
COPY / .
RUN REPEATABLE docker build -t backend && docker run -d -p 80:80 backend
EXPOSE WEBSITE localhost:80 /api
```
##### (backend repo)/layerfiles/frontend/Layerfile
```docker Layerfile # backend FROM vm/ubuntu:18.04 theme={null}
# install the latest version of Docker, as in the official Docker installation tutorial.
RUN apt-get update && \
apt-get install ca-certificates curl gnupg lsb-release && \
sudo mkdir -p /etc/apt/keyrings && \
curl -fsSL https://download.docker.com/linux/ubuntu/gpg | sudo gpg --dearmor -o /etc/apt/keyrings/docker.gpg && \
echo \
"deb [arch=$(dpkg --print-architecture) signed-by=/etc/apt/keyrings/docker.gpg] https://download.docker.com/linux/ubuntu $(lsb_release -cs) stable" |\
sudo tee /etc/apt/sources.list.d/docker.list > /dev/null && \
apt-get update && \
apt-get install docker-ce docker-ce-cli containerd.io
RUN curl -Lo /usr/local/bin/fast-git-download
https://gist.githubusercontent.com/ColinChartier/6bff7cf77adf7d2a8d7d699a5deed707/raw/0b89b3037548ce7e4fb24bea96628014da1bbf05/download
&& \
chmod 755 /usr/local/bin/fast-git-download
# download the latest version of the frontend's "master" branch and build and start it.
RUN REPEATABLE fast-git-download frontend-repo-name /frontend origin/master && \
cd /frontend && \
docker build -t frontend && docker run -d -p 80:80 frontend
EXPOSE WEBSITE localhost:80
```
##### Deployments
1. Create a single deployment from \$branch.demo.yourdomain.com to the backend
repository, leave the branch field empty
2. Create a CNAME record from \*.demo to demotarget.webapp.io
3. Push the layerfiles above to a branch, say, "main"
4. Visit main.demo.yourdomain.com - notice that requests to
main.demo.yourdomain.com/api/hello go to the backend layerfile, while
requests to main.demo.yourdomain.com go to the frontend layerfile (within the
backend domain)