> ## Documentation Index
> Fetch the complete documentation index at: https://docs.webapp.io/llms.txt
> Use this file to discover all available pages before exploring further.
# Installation & Tutorial
webapp.io connects directly to your GitHub, BitBucket, or GitLab repository and runs everytime you make a commit to a repository that contains a [Layerfile](/layerfile-reference/what-are-layerfiles)
In this sense, there's no traditional installation (you don't need to download a CLI tool), all you need is a `Layerfile` in a repository that's connected to webapp.io.
## Project Breakdown
To view the power of preview environments in action, let's go through an example
with our open-source version of Slack,
[Livechat Example](https://github.com/webappio/livechat-example), that uses
[Docker Compose](https://docs.docker.com/compose/). For the purpose of this
quickstart guide, the codebase is monorepository, so all of the services are
within a single folder (/services).
Our Livechat Example contains the following within the `/services` folder:
* `/api` (our api to handle all requests)
* `/cypress` (for running tests)
* `/migrate` (for populating our database)
* `/web` (our React frontend)
Most importantly, in the root directory, we have our **Layerfile** which is a
**set of instructions that tells webapp.io how to install, build, and run** the
Livechat Example. The Layerfile for the Livechat example is shown below:
```docker Layerfile theme={null}
FROM vm/ubuntu:18.04
# install the latest version of Docker, as in the official Docker installation tutorial.
RUN apt-get update && \
apt-get install ca-certificates curl gnupg lsb-release && \
sudo mkdir -p /etc/apt/keyrings && \
curl -fsSL https://download.docker.com/linux/ubuntu/gpg | sudo gpg --dearmor -o /etc/apt/keyrings/docker.gpg && \
echo \
"deb [arch=$(dpkg --print-architecture) signed-by=/etc/apt/keyrings/docker.gpg] https://download.docker.com/linux/ubuntu $(lsb_release -cs) stable" |\
sudo tee /etc/apt/sources.list.d/docker.list > /dev/null && \
apt-get update && \
apt-get install docker-ce docker-ce-cli containerd.io
# Install docker-compose
RUN curl -L "https://github.com/docker/compose/releases/download/1.27.4/docker-compose-$(uname -s)-$(uname -m)" -o /usr/local/bin/docker-compose && \
chmod +x /usr/local/bin/docker-compose
# Copy repository files
COPY / /root
RUN /root/pull-images.sh
RUN REPEATABLE docker-compose build --parallel
RUN BACKGROUND docker-compose up
# EXPOSE WEBSITE creates an internet visible link
EXPOSE WEBSITE localhost:8000
```
## Comprehensive step-by-step Tutorial
### 1. Fork Example Repo
Go to the [GitHub repository for the Livechat example](https://github.com/webappio/livechat-example) and fork the repository.
 Screenshot of the Livechat Example repo
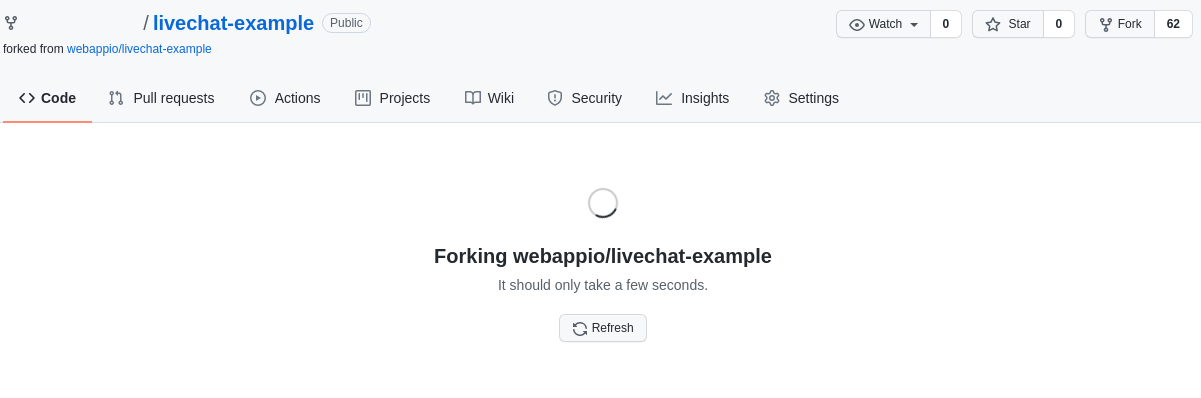 Screenshot after clicking on the button in GitHub to fork the repository.
### 2. Clone To Local
Clone the new Livechat Example repository to your local machine.
Screenshot after clicking on the button in GitHub to fork the repository.
### 2. Clone To Local
Clone the new Livechat Example repository to your local machine.
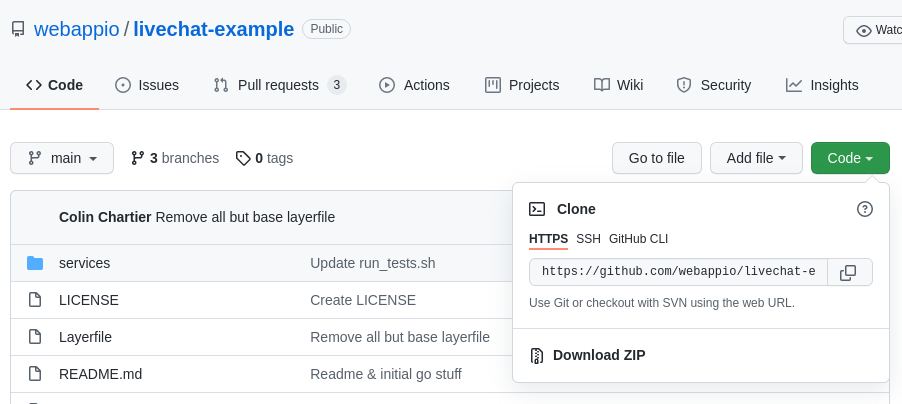 Click on the "Code" button to get the URL to clone locally.
```bash Shell theme={null}
git clone (INSERT URL HERE)
```
### 3. Sign up to webapp.io
[Sign up to webapp.io](https://webapp.io/sign-up) and install webapp.io on your GitHub account, **ensuring that webapp.io has access to the repository you created.**
Click on the "Code" button to get the URL to clone locally.
```bash Shell theme={null}
git clone (INSERT URL HERE)
```
### 3. Sign up to webapp.io
[Sign up to webapp.io](https://webapp.io/sign-up) and install webapp.io on your GitHub account, **ensuring that webapp.io has access to the repository you created.**
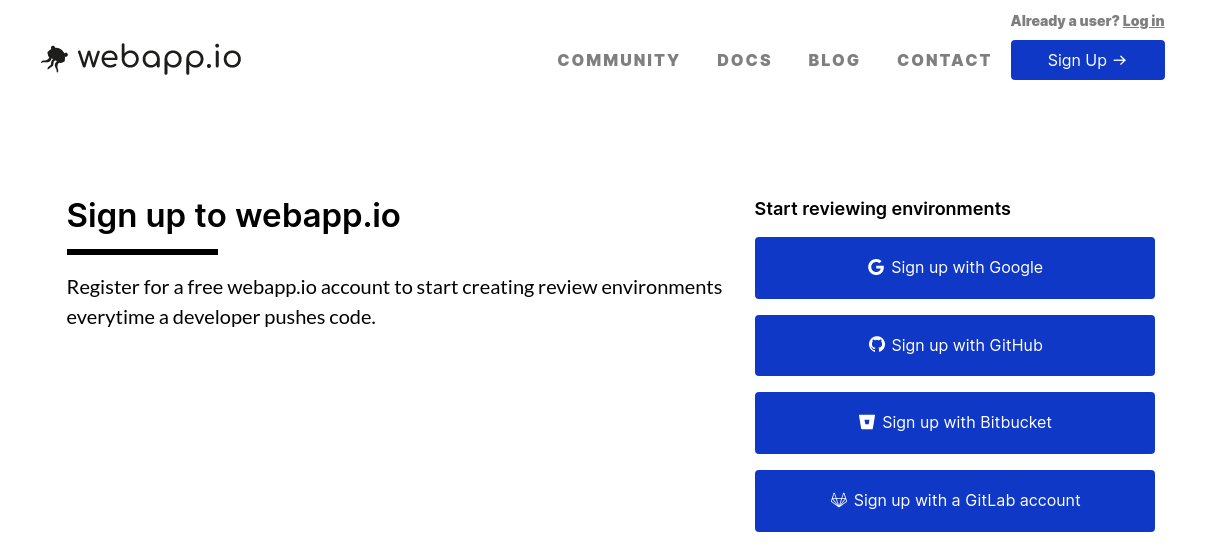 Screenshot of the sign-up page for webapp.io
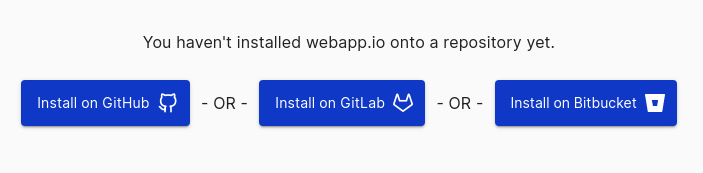 Screenshot of the installations buttons on webapp.io
### 4. Make a Local Change
Make a change to the project locally, and push your changes to the repository you created.
```bash theme={null}
git add .
git commit -m "making some change to Livechat example"
git push
```
### 5. View Website
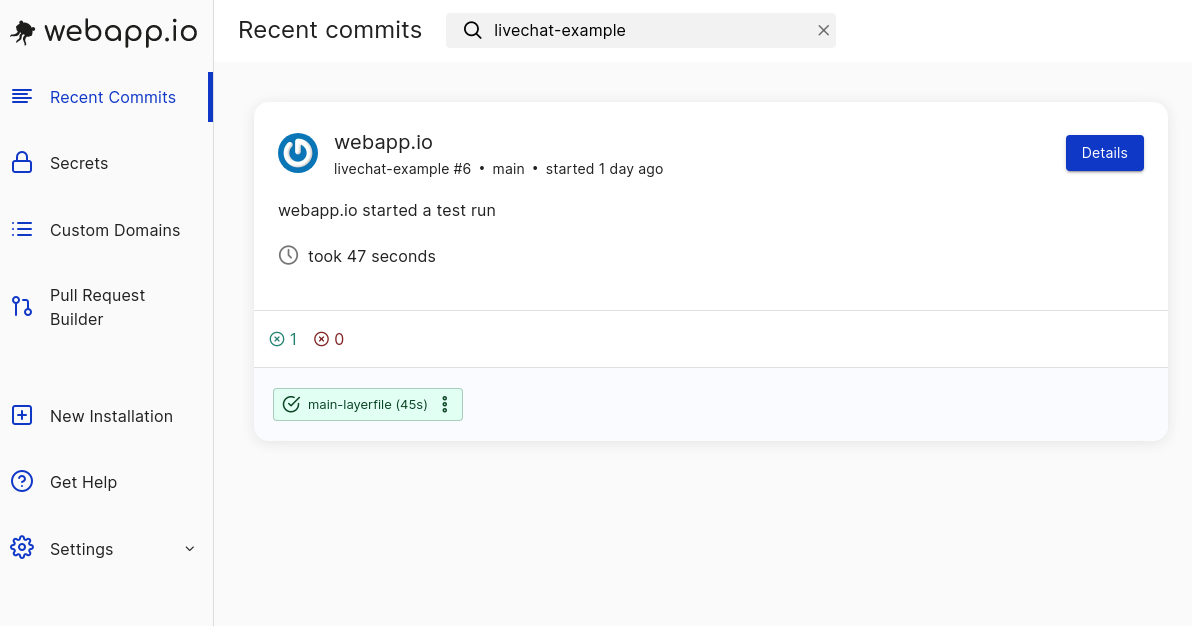
Go to your dashboard on webapp.io to see your run, click on “Details”,“main-layerfile”, then “View website”.
Screenshot of the installations buttons on webapp.io
### 4. Make a Local Change
Make a change to the project locally, and push your changes to the repository you created.
```bash theme={null}
git add .
git commit -m "making some change to Livechat example"
git push
```
### 5. View Website
Go to your dashboard on webapp.io to see your run, click on “Details”,“main-layerfile”, then “View website”.
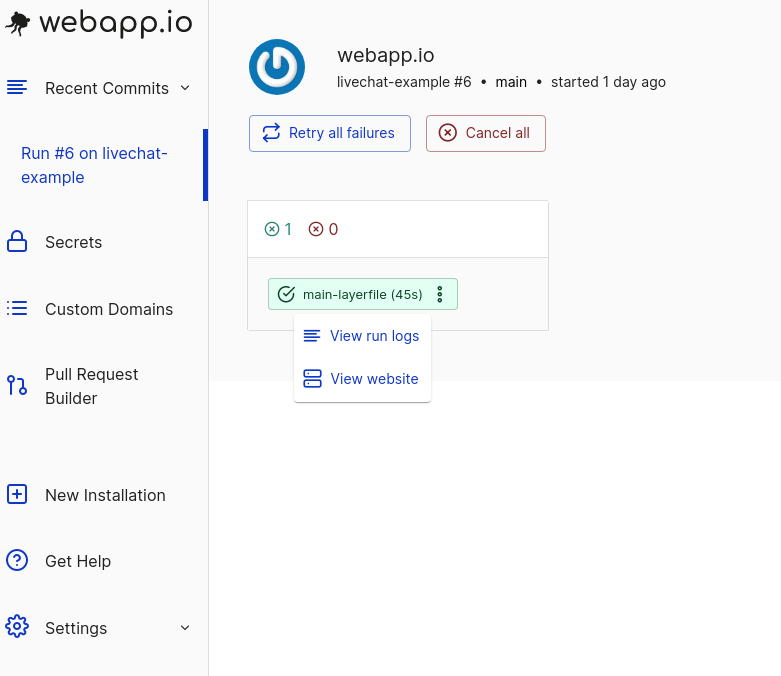 Click on "main-layerfile" here, followed by "View Website".
### 6. View Preview Environment
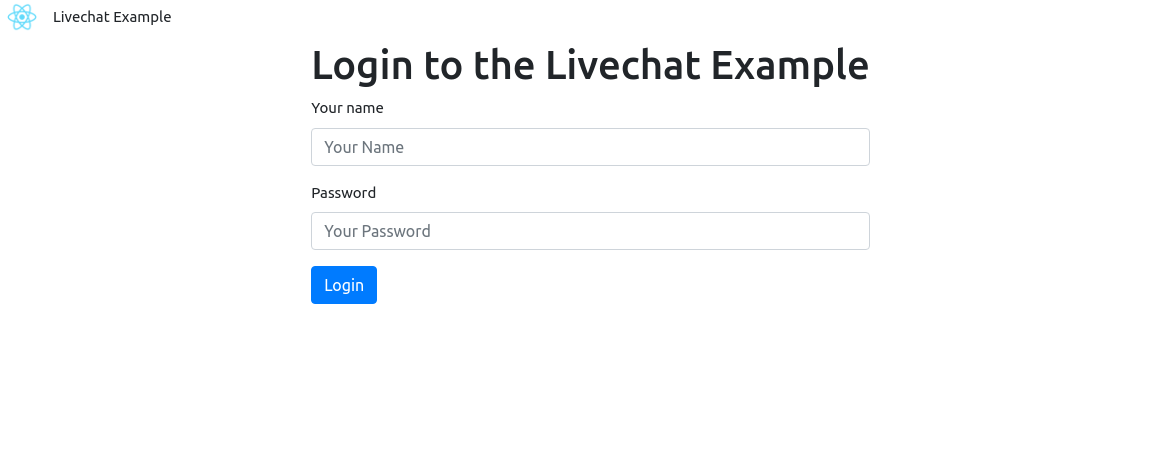
Wait for the server to start, you'll be redirected to a preview environment with the Livechat Example.
Click on "main-layerfile" here, followed by "View Website".
### 6. View Preview Environment
Wait for the server to start, you'll be redirected to a preview environment with the Livechat Example.
 That's all you need to view the full-stack preview environment with webapp.io!
## Conclusion
In this tutorial we've gone through the steps needed to set up the CI/CD and preview environments for the Livechat example on webapp.io.
The full-stack Livechat example is just one example of many webapps you can run on webapp.io. If your webapp runs locally, webapp.io should be able to support - regardless of what stack you use.
That's all you need to view the full-stack preview environment with webapp.io!
## Conclusion
In this tutorial we've gone through the steps needed to set up the CI/CD and preview environments for the Livechat example on webapp.io.
The full-stack Livechat example is just one example of many webapps you can run on webapp.io. If your webapp runs locally, webapp.io should be able to support - regardless of what stack you use.