Layerfile in a repository that’s connected to webapp.io.
Project Breakdown
To view the power of preview environments in action, let’s go through an example with our open-source version of Slack, Livechat Example, that uses Docker Compose. For the purpose of this quickstart guide, the codebase is monorepository, so all of the services are within a single folder (/services). Our Livechat Example contains the following within the/services folder:
/api(our api to handle all requests)/cypress(for running tests)/migrate(for populating our database)/web(our React frontend)
Layerfile
Comprehensive step-by-step Tutorial
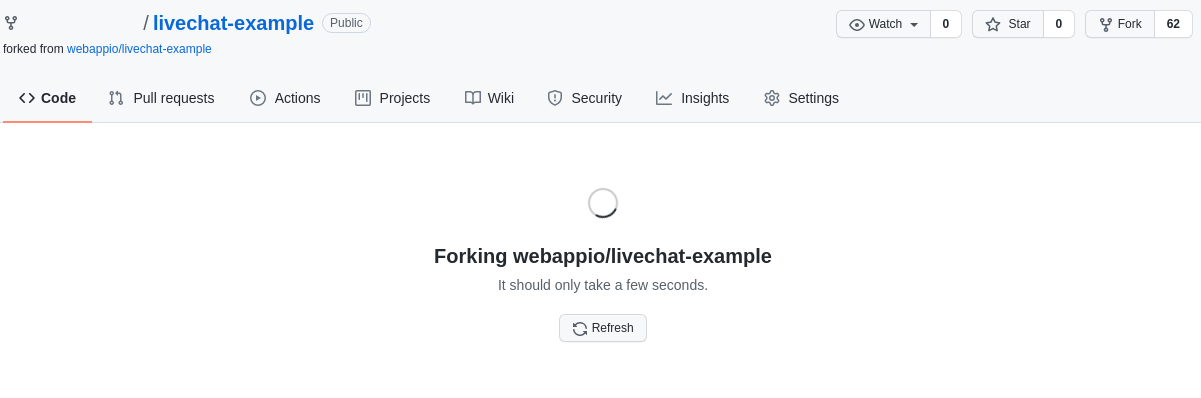
1. Fork Example Repo
Go to the GitHub repository for the Livechat example and fork the repository. Screenshot of the Livechat Example repo
 Screenshot after clicking on the button in GitHub to fork the repository.
2. Clone To Local
Clone the new Livechat Example repository to your local machine.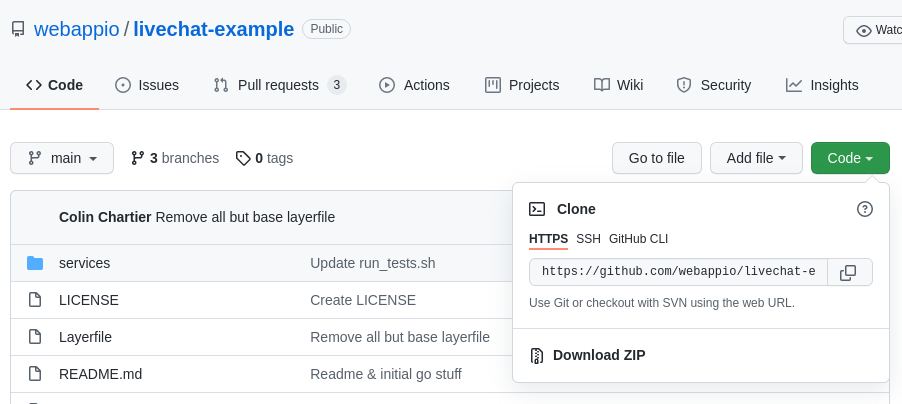 Click on the “Code” button to get the URL to clone locally.
Shell
3. Sign up to webapp.io
Sign up to webapp.io and install webapp.io on your GitHub account, ensuring that webapp.io has access to the repository you created.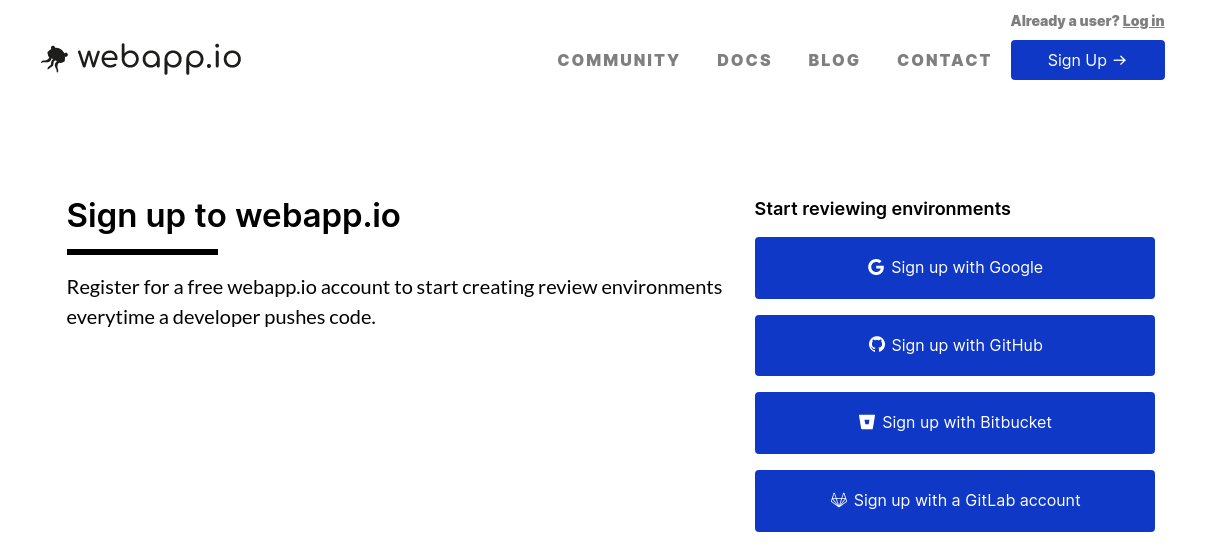 Screenshot of the sign-up page for webapp.io
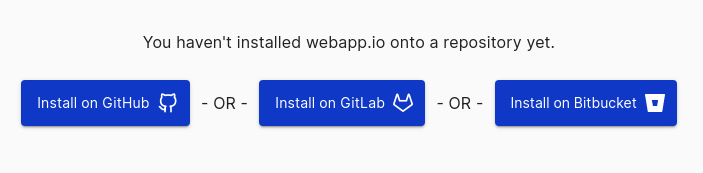 Screenshot of the installations buttons on webapp.io
4. Make a Local Change
Make a change to the project locally, and push your changes to the repository you created.5. View Website
Go to your dashboard on webapp.io to see your run, click on “Details”,“main-layerfile”, then “View website”.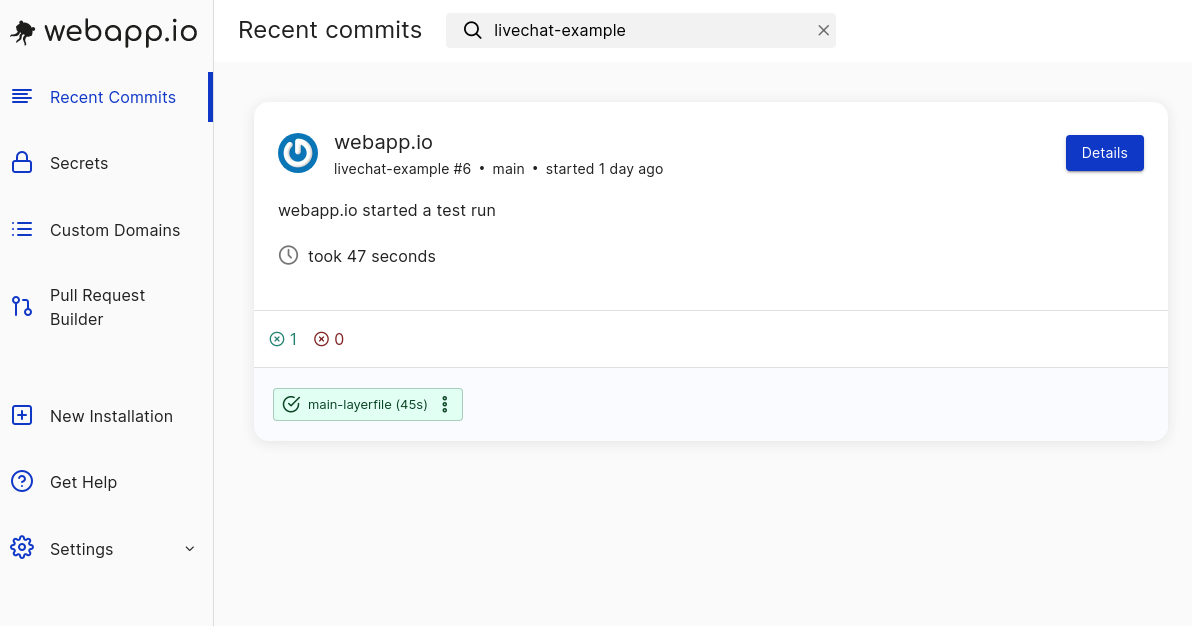
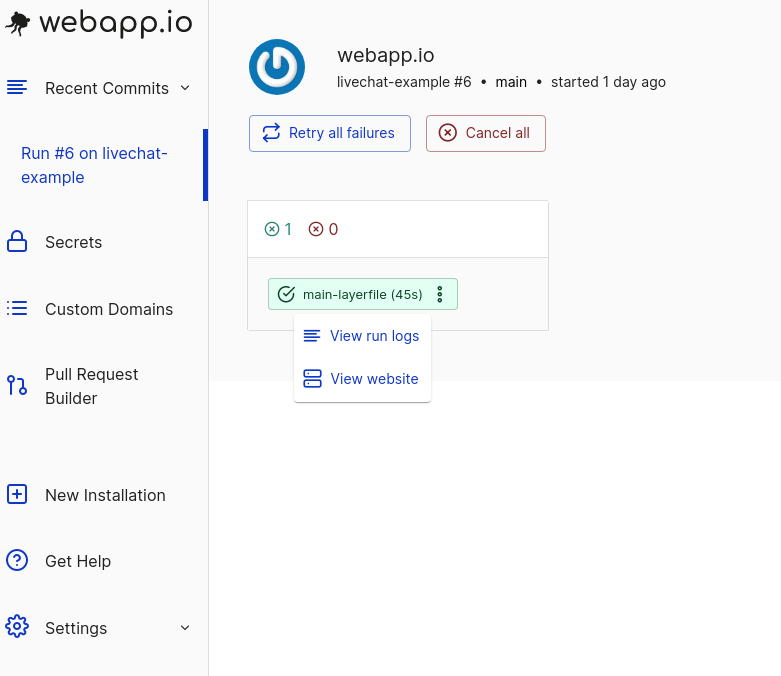 Click on “main-layerfile” here, followed by “View Website”.
6. View Preview Environment
Wait for the server to start, you’ll be redirected to a preview environment with the Livechat Example.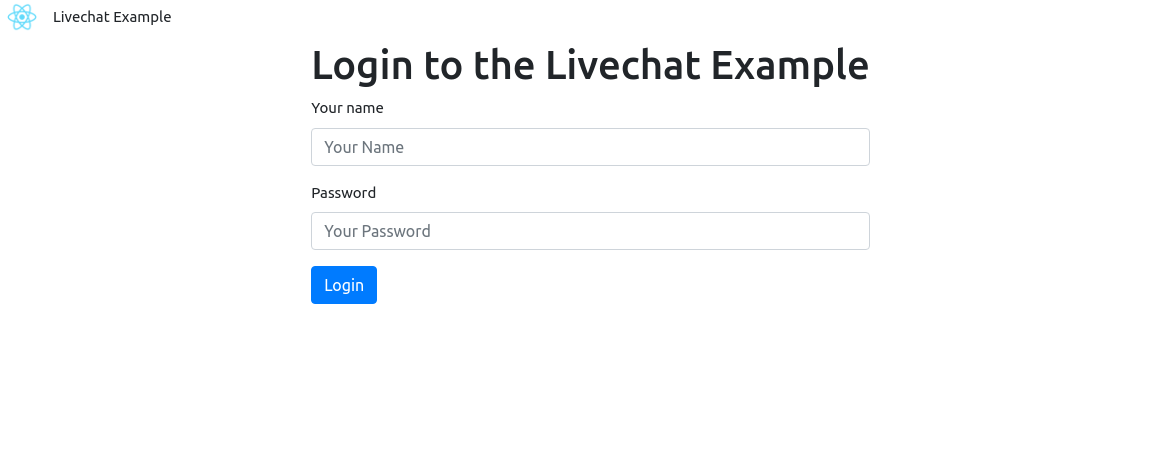 That’s all you need to view the full-stack preview environment with webapp.io!
Conclusion
In this tutorial we’ve gone through the steps needed to set up the CI/CD and preview environments for the Livechat example on webapp.io.The full-stack Livechat example is just one example of many webapps you can run on webapp.io. If your webapp runs locally, webapp.io should be able to support - regardless of what stack you use.